

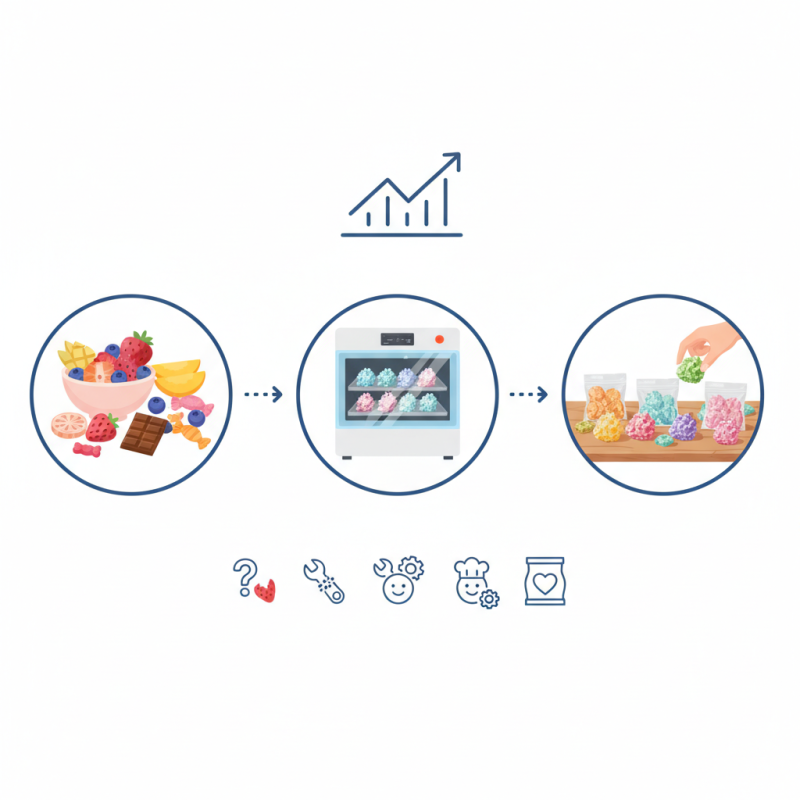
How to Make Freeze Dried Sweets at Home?
The popularity of Freeze Dried Sweets is on the rise. According to a recent market report by IBISWorld, the freeze-drying industry is projected to grow by 5% annually over the next five years. This growth is fueled by consumer demand for innovative and convenient snack options.
Expert Sarah Thompson, a leader in food science, states, "Freeze Dried Sweets offer a unique way to enjoy flavors while preserving nutrients." As people seek healthier alternatives, freeze-drying provides a solution that maintains sweet taste without adding unnecessary sugars. The process removes moisture while enhancing flavors, creating crunchy, flavorful treats that are more appealing to health-conscious consumers.
However, making Freeze Dried Sweets at home can pose challenges. You need the right equipment and techniques. Improper methods can lead to inconsistent texture and taste. Experimentation is part of the process, and not every attempt will yield success. Yet, the rewarding experience of creating your own treats can outweigh any failures.
Types of Sweets Suitable for Freeze Drying at Home
When considering sweets for freeze drying at home, certain types shine brightly. Fruits are a top choice. Items like strawberries and bananas maintain flavor post-drying. They keep their vibrant colors too. Data suggests that freeze-dried fruits retain 90% of their nutrients. This makes them both tasty and healthy.
Next are gummy candies. These chewy confections become crunchy in the freeze-drying process. Many people enjoy the unique texture. However, sugar-heavy candies may not dry uniformly. It’s essential to experiment. Chocolate, though a beloved sweet, is tricky. It can melt and cause messes. Professionals recommend using it sparingly.
Nuts and granola bars offer a different experience. Nuts can enhance their crispiness through freeze drying. Granola bars may not hold their structure well. Some might crumble into bits. This unpredictability can be frustrating. While results vary, finding the right balance is key.